HPC + GPU + PyTorch Practical Guide
A practical note for the full HPC to GPU to CUDA to PyTorch to backpropagation workflow on Northeastern Explorer.
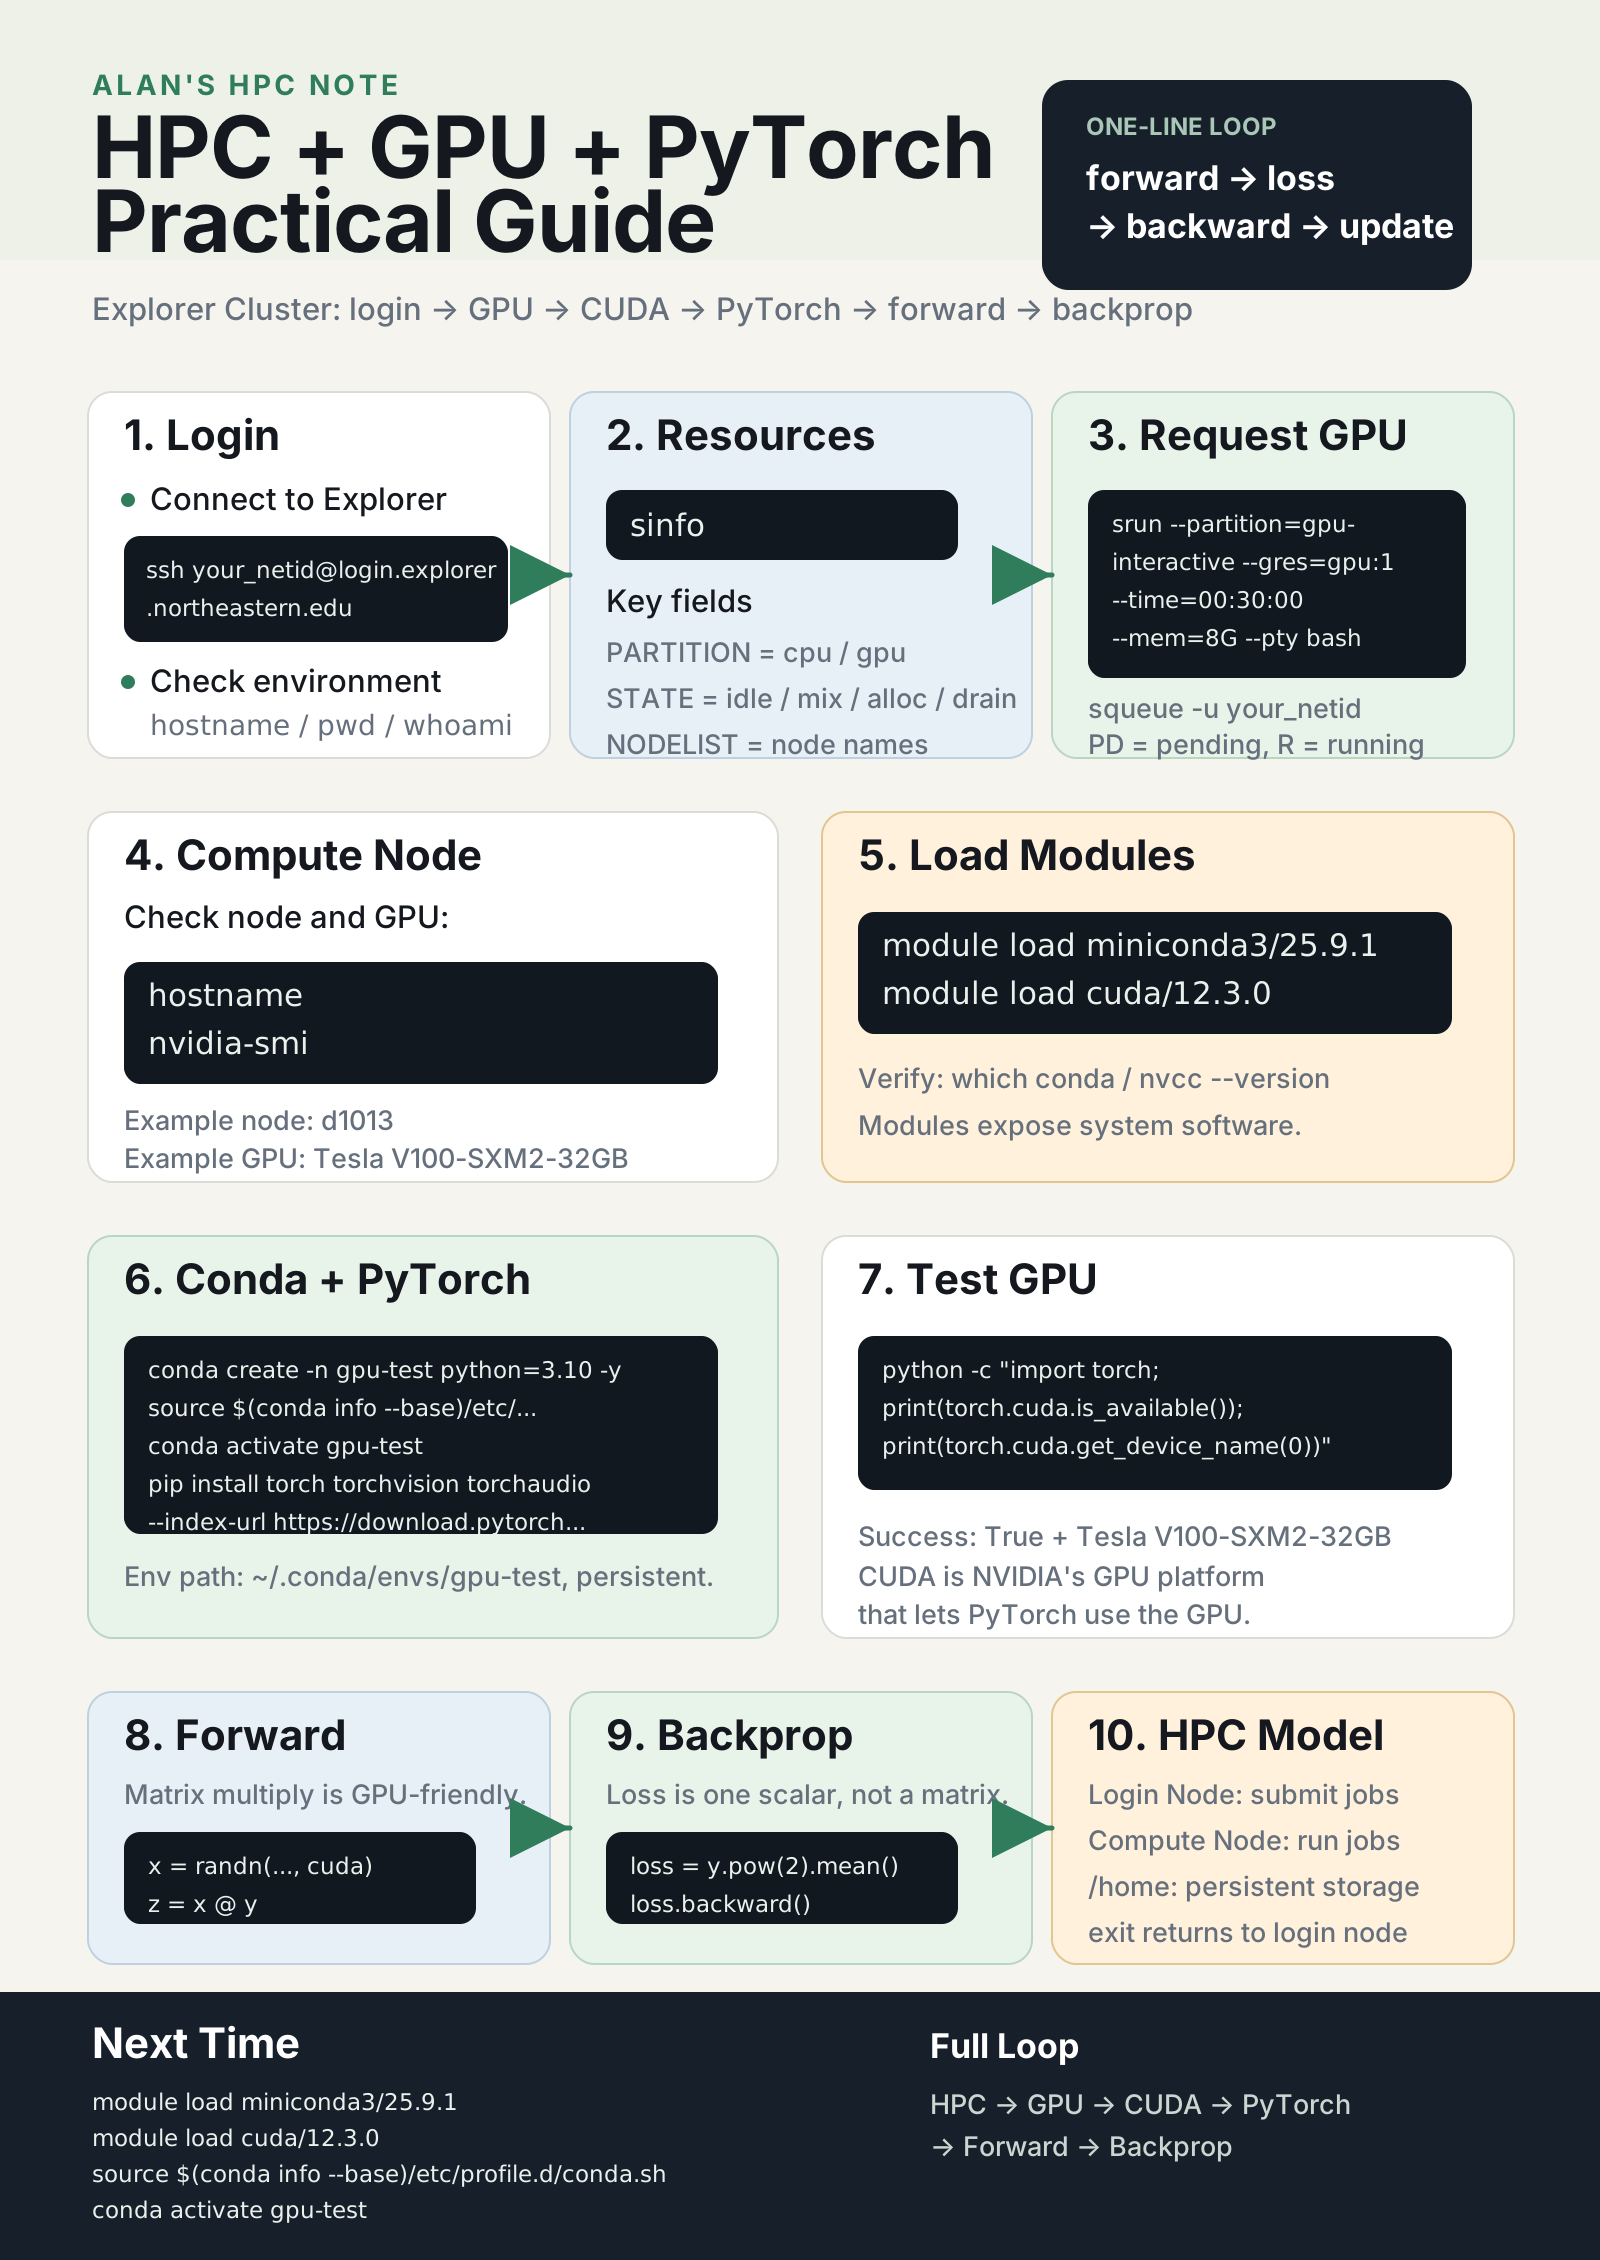
This note captures the full workflow for running PyTorch on Northeastern's Explorer Cluster: login, request an interactive GPU session, load the system modules, create a Conda environment, install the CUDA-enabled PyTorch wheel, run a GPU forward pass, and call loss.backward().
Goal
Run the complete path:
Login -> Request GPU -> Setup Environment -> Run PyTorch -> Backpropagation1. Login
ssh your_netid@login.explorer.northeastern.eduCheck the current environment:
hostname
pwd
whoami
2. Check Cluster Resources
sinfoKey fields:
| Field | Meaning |
|---|---|
PARTITION |
Queue, such as cpu or gpu |
STATE |
Node state, such as idle, mix, alloc, or drain |
NODELIST |
Node names |
3. Request An Interactive GPU
srun --partition=gpu-interactive \
  --gres=gpu:1 \
  --time=00:30:00 \
  --mem=8G \
  --pty bash
Check job status:
squeue -u your_netidPD means pending. R means running.
4. Enter The Compute Node
After the allocation starts, confirm that the shell is running on a compute node:
hostnameCheck the GPU:
nvidia-smiExample GPU:
Tesla V100-SXM2-32GB5. Load System Modules
module load miniconda3/25.9.1
module load cuda/12.3.0
Verify:
which conda
nvcc --version
module load exposes software already installed on the cluster. It does not install packages into your personal directory.
6. Create A Conda Environment
If this is the first time using Anaconda channels, accept the Terms of Service:
conda tos accept --override-channels --channel https://repo.anaconda.com/pkgs/main
conda tos accept --override-channels --channel https://repo.anaconda.com/pkgs/r
Create the environment:
conda create -n gpu-test python=3.10 -yActivate it:
source $(conda info --base)/etc/profile.d/conda.sh
conda activate gpu-test
The environment is stored under:
~/.conda/envs/gpu-testThat path is persistent; it does not disappear when the GPU node session ends.
7. Install PyTorch
pip install torch torchvision torchaudio \
  --index-url https://download.pytorch.org/whl/cu121
8. Test GPU Access
python -c "import torch; print(torch.__version__); print(torch.cuda.is_available()); print(torch.cuda.get_device_name(0))"Expected shape of the output:
2.5.1+cu121
True
Tesla V100-SXM2-32GB
9. Matrix Multiplication Forward Pass
import torch
import time

x = torch.randn(8000, 8000, device="cuda")
y = torch.randn(8000, 8000, device="cuda")

torch.cuda.synchronize()
start = time.time()

z = x @ y

torch.cuda.synchronize()
print("Time:", time.time() - start)
Matrix multiplication is a GPU-friendly parallel workload. In this example, x @ y performs a large matrix multiply directly on CUDA.
10. Backpropagation
import torch

device = "cuda"

x = torch.randn(4096, 4096, device=device)
w = torch.randn(4096, 4096, device=device, requires_grad=True)

y = x @ w
loss = y.pow(2).mean()

loss.backward()
The core training loop is:
forward -> loss -> backward -> updateImportant details:
x @ wmeans matrix multiplication: input times weights produces output.loss = y.pow(2).mean()squares each element, averages the result, and produces one scalar.loss.backward()computes gradients automatically.- Gradients for
ware stored inw.grad. - CUDA is NVIDIA's GPU computing platform, and PyTorch uses it to run tensor operations on the GPU.
HPC Mental Model
| Concept | Meaning |
|---|---|
| Login Node | Where you log in and submit jobs |
| Compute Node | Where the actual CPU/GPU workload runs |
/home |
Persistent storage |
| Compute node local storage | Temporary |
| Conda environment | Persistent when stored under ~/.conda/envs/ |
Exit
exitThis returns from the GPU compute node back to the login environment.
Next Time
module load miniconda3/25.9.1
module load cuda/12.3.0

source $(conda info --base)/etc/profile.d/conda.sh
conda activate gpu-test

srun --partition=gpu-interactive --gres=gpu:1 --pty bash
The complete loop is:
HPC -> GPU -> CUDA -> PyTorch -> Forward -> Backprop